Delete GoDaddy tenant on cut over day?
Before we get ready for the cut over, This is an important question to be clarified. Once we have the data syncronized, the final step is to cut over the smtp domain from GoDaddy tenant to Microsoft Tenant. However, Its not as easy as what we think. GoDaddy has a different setup of Office365 which doesnt have Office365 admin center. Admin center is replaced by GoDaddy admin center which has very limited options.
Challenge - GoDaddy tenant needs an admin account which is created using the GoDaddy admin center. And we dont have an option to create a user with default onmicrosoft.com ID here. As a prerequisite for deleting the domain name from Office365 tenant, Its mandatory that all recipients who are using this domain name must delete them prior to the removal. This is like a dead lock. We need to change the SMTP domain, however retain the admin access too.
If thats the case, We should have an additional SMTP domain to be used in interim. All accounts needs to have SMTP address changed from activedirectory.in to interimdomainname.in so that we can retain the users as well as the data on GoDaddy tenant even after cut over.
If an interim domain is not an option - then the only option is to delete all the user objects from GoDaddy admin center and call GoDaddy Support requesting them to drop the tenant.
Deleting Domain
Once the smtp domain has released from recipients, We can call GoDaddy support or use PowerShell to remove the domain from GoDaddy Office365 Tenant.
Use Connect-MsolService to connect with Microsoft Online Service
Use Remove-MSOLDomain to delete the domainWe can also use Get-MSOLUser -Domain yourdomain.com to identify the objects which are currently using the domain name (even as a secondary SMTP address)
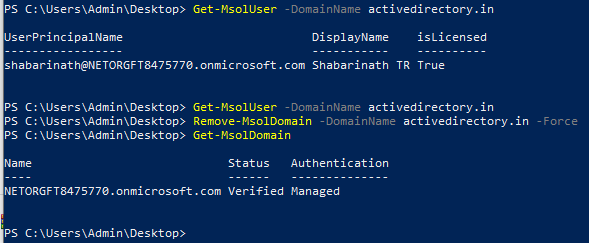
Once Domain Deletion is successful, Please give 15 minutes to 30 minuets before re adding the domain on Microsoft tenant.
For adding the domain, Login to Portal using https://admin.microsoft.com.
Navigate to Settings -> Domain
Click on + Add Domain
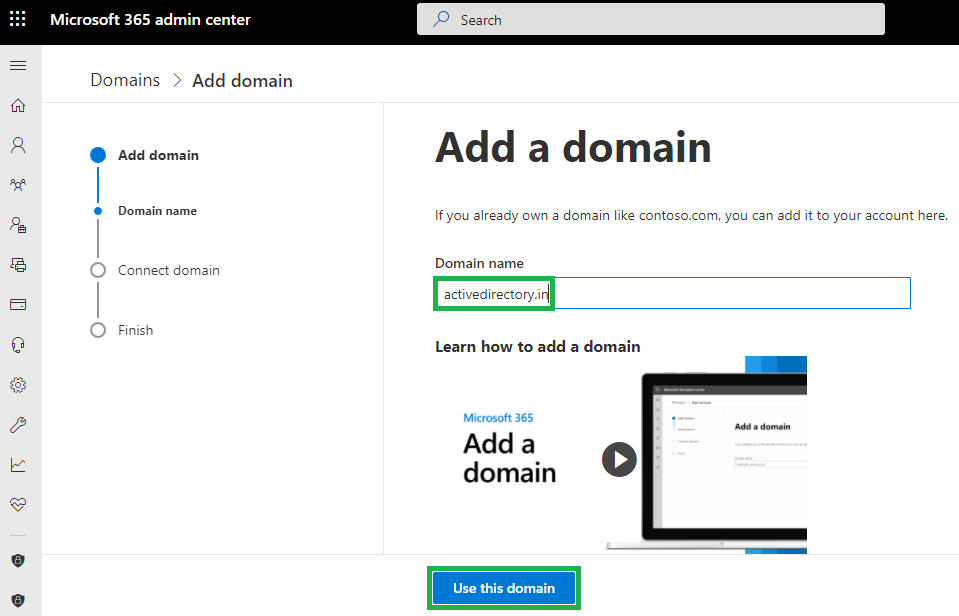
The next step is to verify the ownership. This can happen using different options. With few of the DNS service providers, Microsoft O365 service can connect directly using the admin credentials of DNS service provider and validate. The other option, which was used from the early days is by creating a dns record, however will need some time for the DNS records to be available for O365 services. Hence, the preferred option is to connect directly and validate.
I was using GoDaddy as my DNS provider for activedirectory.in. Hence, I am getting a prompt to connect with GoDaddy and verify the ownership.
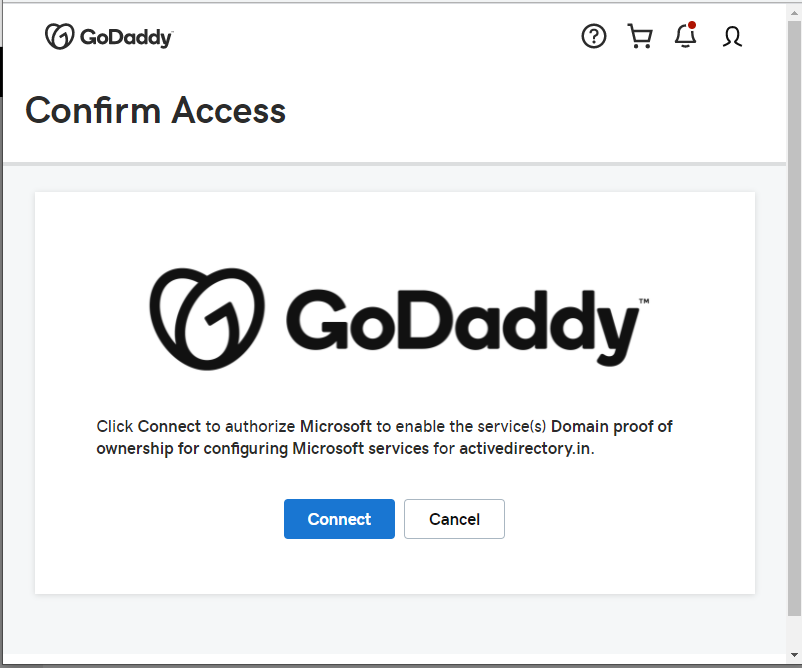
Once Domain Ownership gets successfully verified, Click on Done.
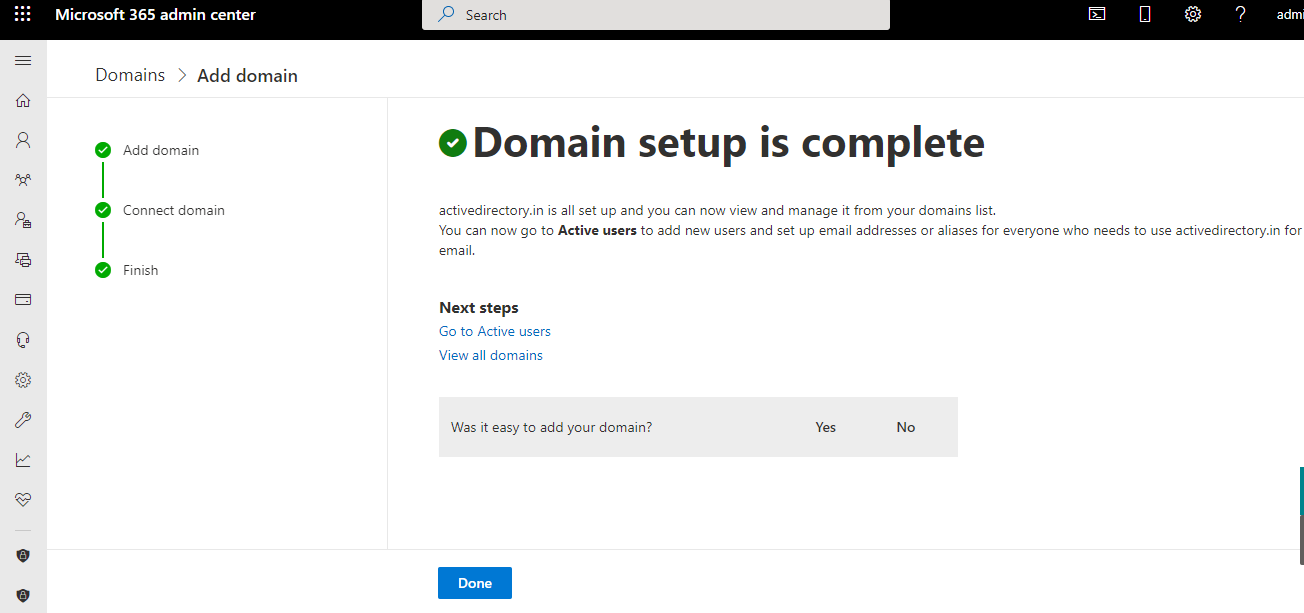
The next part is updating DNS recrods. This page will appear once we click on DOne on the previous page. Here we need to choose the services we are availing and the corresponding DNS records will be displayed.
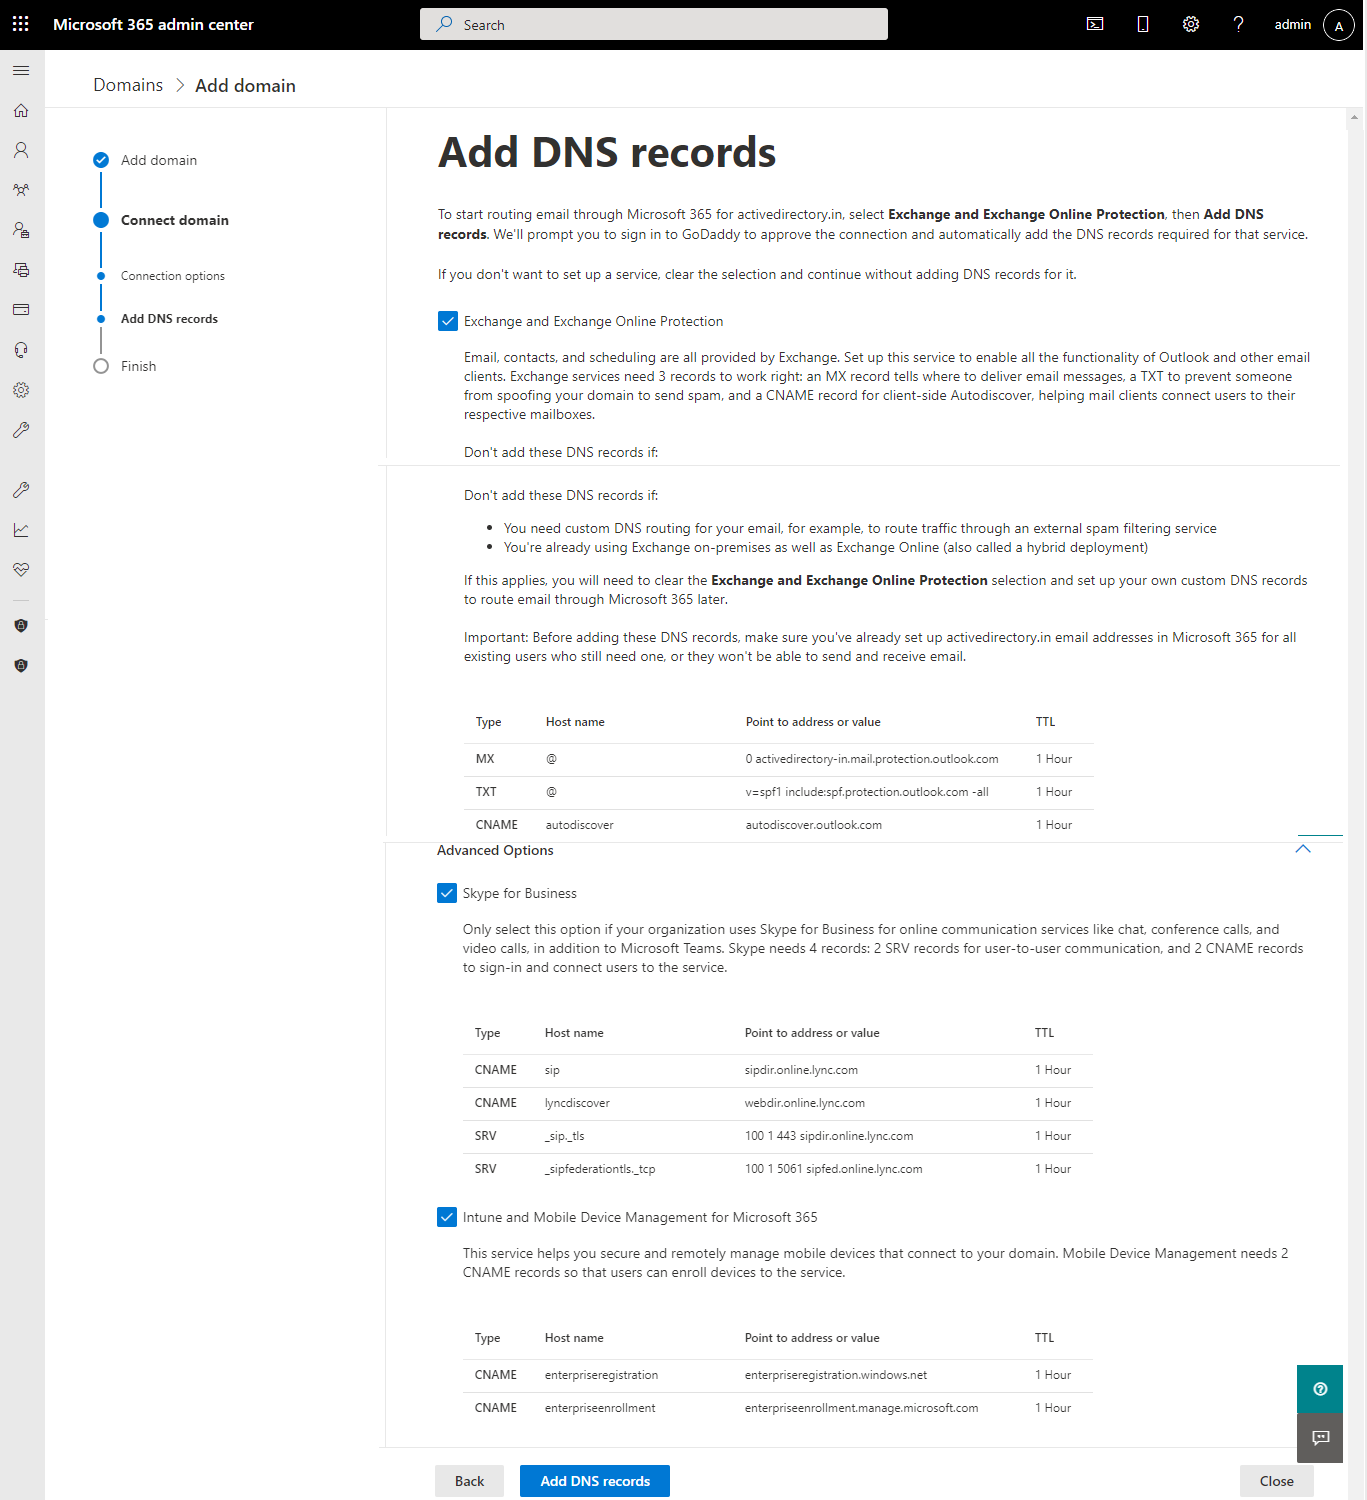
Here also, DNS Connect option will help us to make the DNS update jobs easy. Just connect with the admin credentials and all DNS records will get created in one shot.
Once DNS records are created, validation will recheck if everything is good. This could also take some time for DNS records to replicate. Once validation is successfull, We are good to go ahead and start using this domain in the Microsoft Tenant.
posts on office365 cross tenant migration
