User Data Movement from SharePoint/OneDrive
Now, Its the time to start planning on the real data movement. As I told, majority of the user data will be in SharePoint Online, Teams or OneDrive. Teams is using SharePoint Document Library in the backend to store date. OneDrive is also using SharePoint personal site for storing user data. To help us with the data migration, Microsoft has provided a free tool named Mover. Mover can move files from different sources to SharePoint Online. And mover supports SharePoint Online to SharePoint Online file transfer. Its again copying of files from source sharepoint site to destination sharepoint site.
Why Mover?
- Along with copying files/folders, Mover will also fix the permission accordingly after looking out for the corresponding users/groups in target tenant
- Mover will retain the meta data of files and folders to a greater extend
- Mover will retry failed files multiple times
- Support custom input file which has a mapping of source SharePoint document library and destination document library
Mover is a SAAS based solution. So we dont need any additional infrastructure.
Configuring Mover
Prerequisites
- Global Admin Access to both tenants
- Microsoft live ID for Mover login
- Login to Mover.io using a Microsoft account (live.com or hotmail.com)
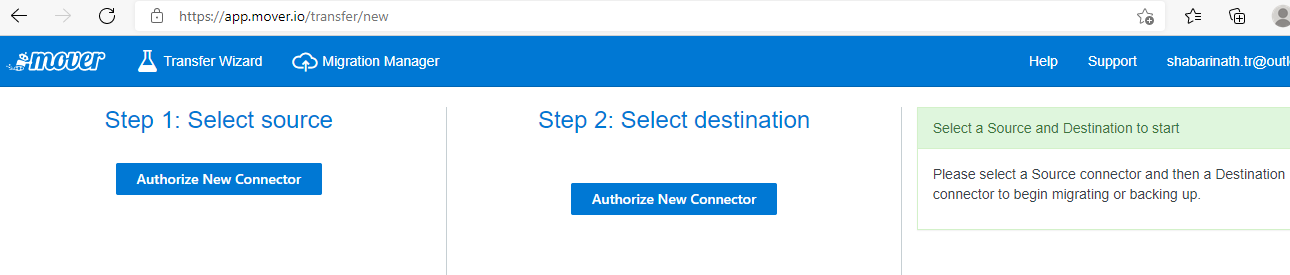
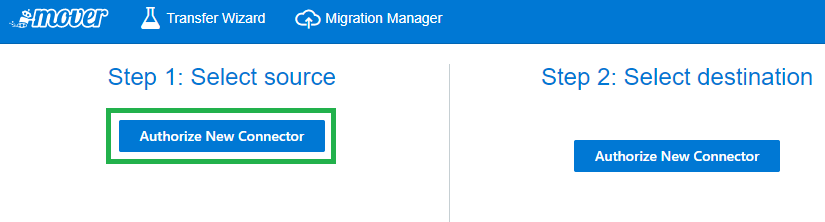
- Click on Authorize New Connector from the Source section
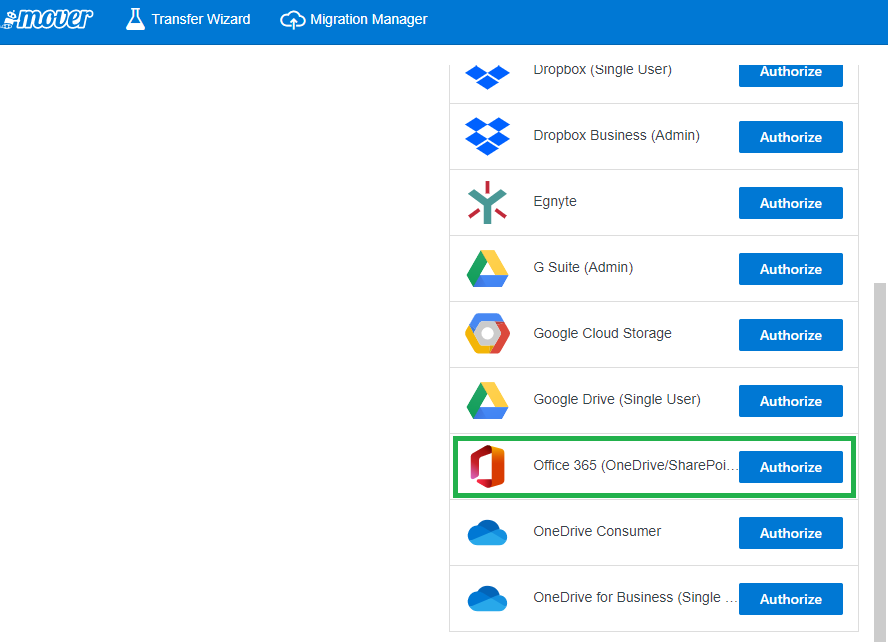
- Choose Office365 (OneDrive/SharePoint Admin) from the list of Connectors
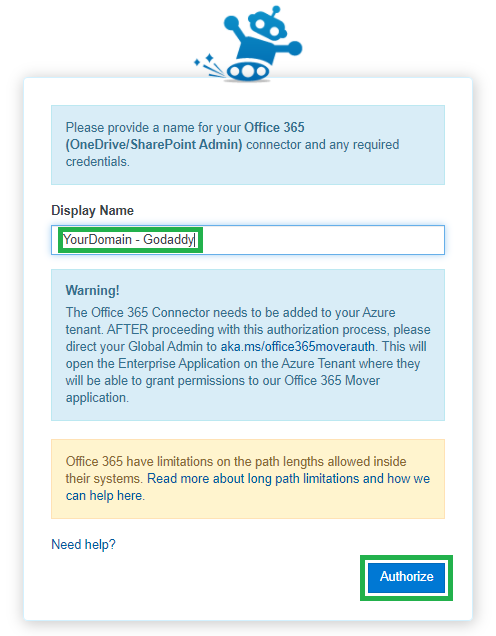
- Name the connector - Use your domain name followed by hoster for easy identification and click on "Authorize"
- A new Microsoft login page will come in. Use Global Admin Account to login.
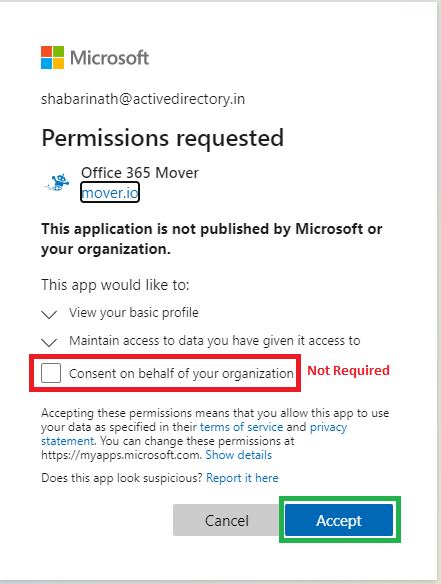
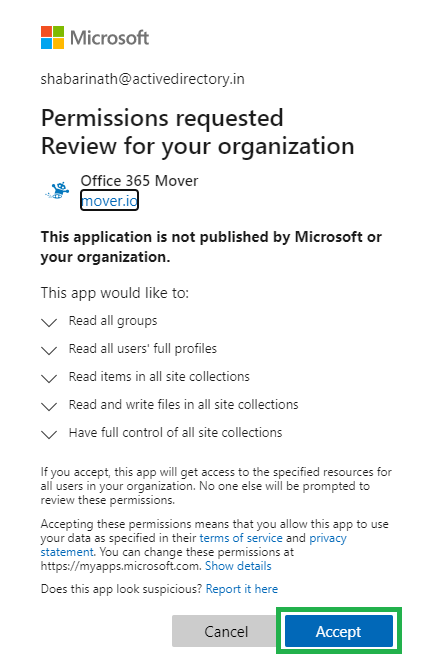
- Post successful login, Screen will be prompted for granting consent. Dont select "Consent on behalf of your organization" check box. Click on Accept to proceed.
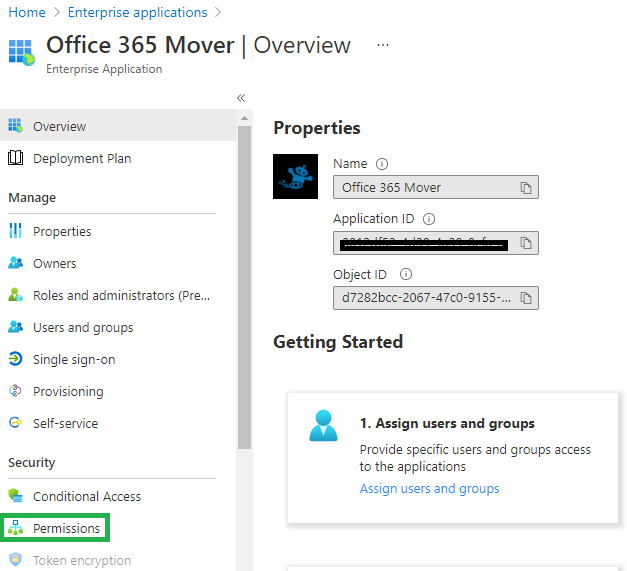
- Navigate the Azure AD -> Enterprise Applications and select Office365 Mover
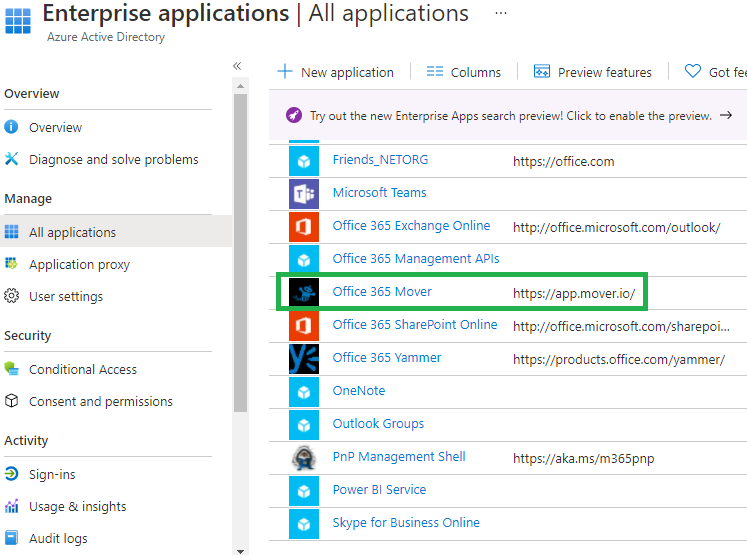
- Click on Properties of "Office365 Mover" app
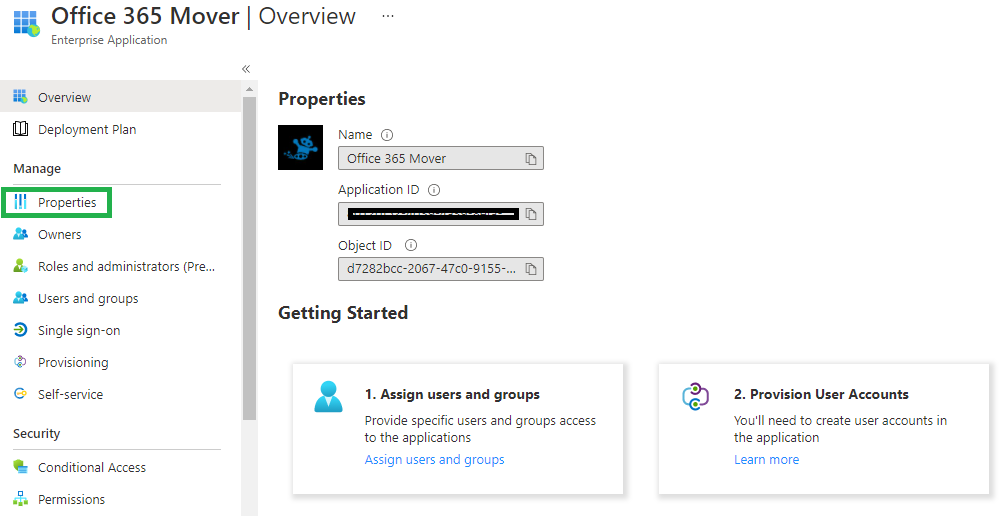
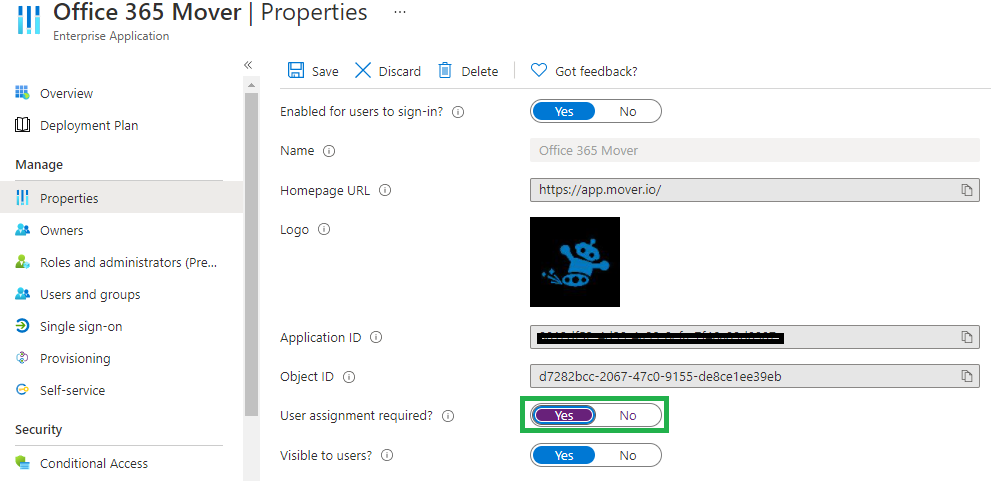
- Change the slide of User Assignment Required from No to Yes and click on Save
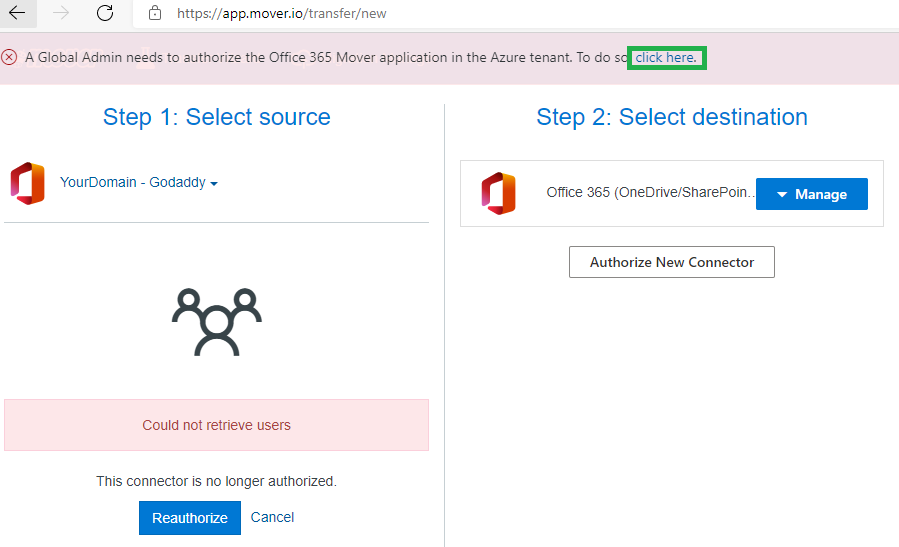
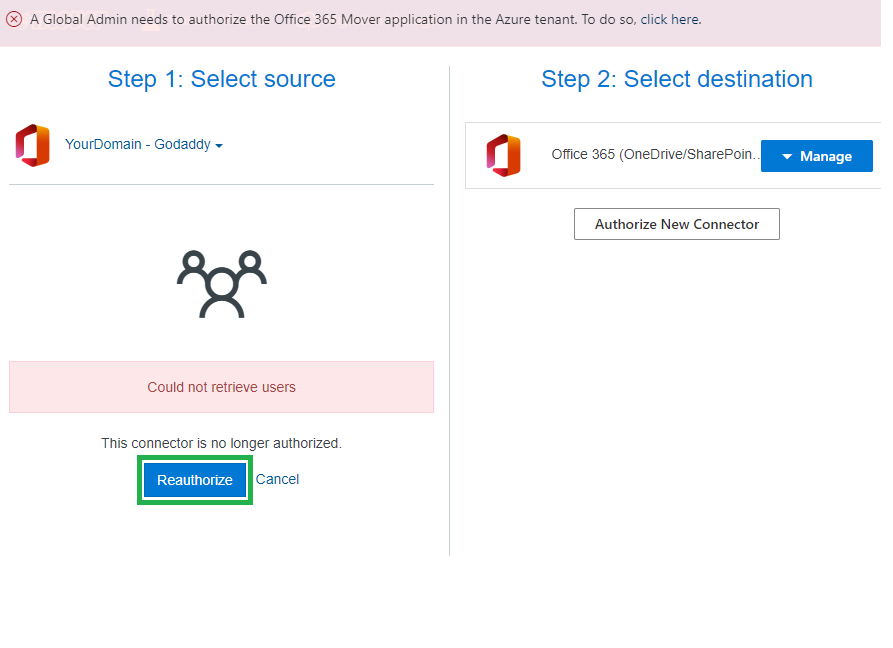
- Switch back to Mover console. A new alert will be visible at top stating that Global Admin needs to authorize the access and will have a hyper link to authorize.
- A new Microsoft login page will come in. Enter a Global Admin credentials and authenticate
- The page will be redirected to Azure AD -> Enterprise Applications -> Office365 Mover
- Click on Permissions
- Click on "Grant Admin Consent for yourdomain.com"
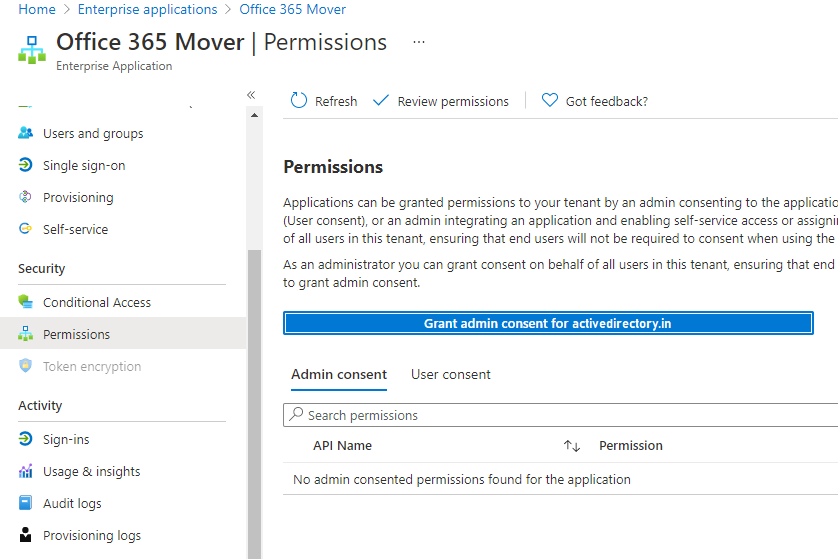
- Admin Consent page will be prompted. Review the permissions and click on Accept
- Go back to Mover Console. Now Click on Reauthorize the new connector
- On a similar way, Authorize a new connector for the destination tenant too.
- Once both connectors are good, Validate if mover is able to discover SPO sites on both tenants. If so, Click on "Continue Migration Setup"
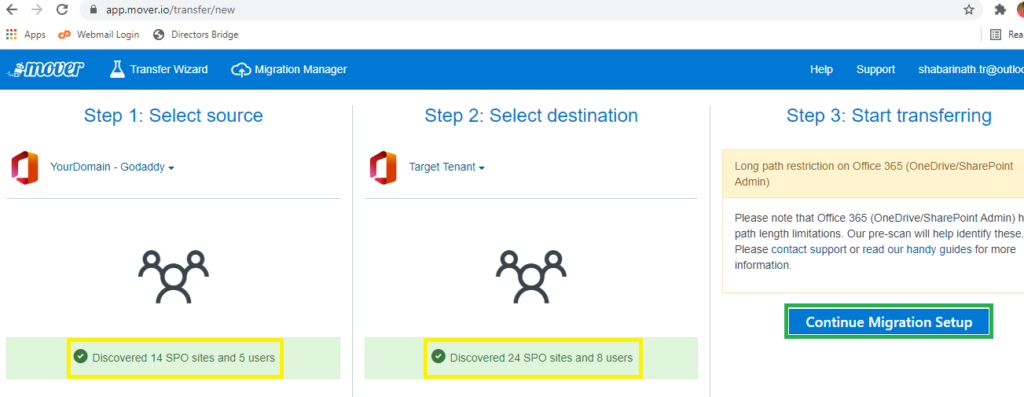
- The page will redirected to "Migration Manger" console. Console will be blank and nothing to be worried on that.
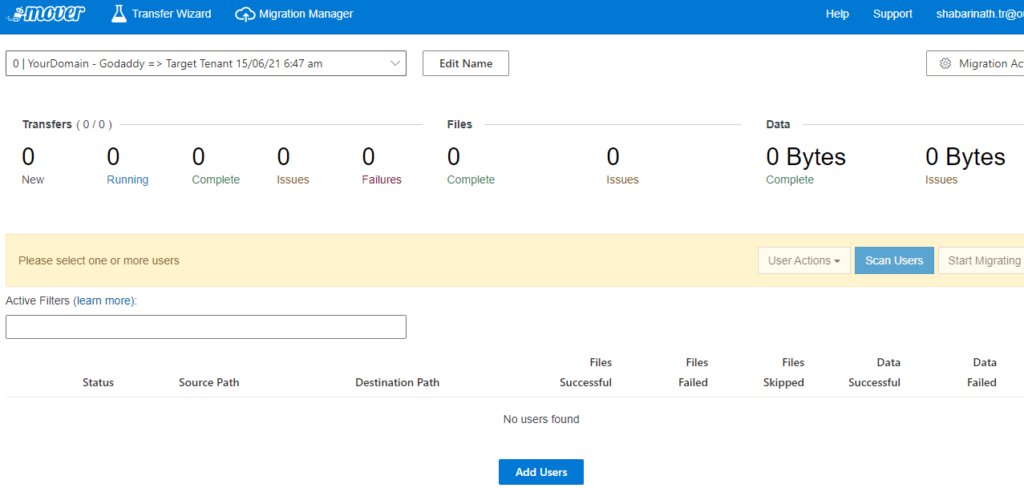
With that, Mover is configured and good to start data transfer source and destination SharePoint sites.