Migrating Emails - Office365CrossTenantMigration
Now lets look at different options on migrating emails from source tenant to destination tenant. With free tools, The best option available is Cross tenant Mailbox Migrator. Though I haven't worked on this as its a pretty new tool, I feel this is going to be a life saver.
Cross Tenant Mailbox migrator migrated entire mailbox from Source to Destination mailbox and provide some level of co-existence even if we go with staged migration. Once a mailbox is migrated, Source mailbox will be converted to a mail enabled user with email address pointing to the target onmicrosoft smtp.
Pros
- Its migrating directly from Source mailbox to destination. So no need to worry about data confidentiality
- Complete mailbox migration, including calendar, contacts and tasks
- Co-existence so that migration team has more flexibility to take mailboxes migration in multiple batches
Cons
- Cross Tenant Mailbox migrator is still in public preview
- Configuration is not a cake walk. Needs very complex configuration on source tenant as well as target tenant.
- Configurations are complex as its done through few scripts provided by Microsoft.
- Scripts cannot be edited as its has a check to validate if its the same file on GitHub
- Lack of documentation
- While executing scripts, Migration team needs to pass few variables. However, If we end up in any error, Its difficult to understand why its failing from the error message
I have tried setting up Cross Tenant Mailbox Migrator on my lab but was not successful. But I will keep on trying. I also hope that as Cross Tenant Mailbox Migrator is getting into general availability, We should see more documentation and better user experience to reduce the complex configurations.
Migrating Emails - IMAP
IMAP migration is the next available option. However, There are few points to be considered for IMAP migration.
Refer Microsoft Documentation on the latest details IMAP migration before attempting.
Here are a few limitations to be aware of:
- Microsoft's data migration tool is currently unaware of tools enforcing messaging records management (MRM) or archival policies. Because of this, any messages that are deleted or moved to archive by these policies will result in the migration process flagging these items as "missing". The result is perceived data loss rather than actual data loss, which makes it much harder to identify actual data loss during any content verification checks.
Therefore, Microsoft strongly recommends disabling all MRM and archival policies before attempting any data migration to mailboxes. - You can only migrate items in a user's inbox or other mail folders. This type of migration doesn't migrate contacts, calendar items, or tasks.
- You can migrate a maximum of 500,000 items from a user's mailbox (emails are migrated from newest to oldest).
- The biggest email you can migrate is 35 MB.
- If you limited the connections to your source email system, it's a good idea to increase them to improve migration performance. Common connection limits include client/server total connections, per-user connections, and IP address connections on either the server or the firewall.
Challenges on the ground
- Migration team needs to have password of each users for configuring IMAP sync
- Even if we reset the password on cutover day, The total time for Migration and Cutover will be limited
- Calendars, Contacts and Tasks needs to be handled separately. Either PST Export or let users take their own backups in PST
- Lacking any kind of log files or reports to validate what data
Configuring IMAP Migration
IMAP Connector should be configured in the target tenant. Login to the Office365 Admin portal using an Admin Account.
Navigate to Setup -> Migrations
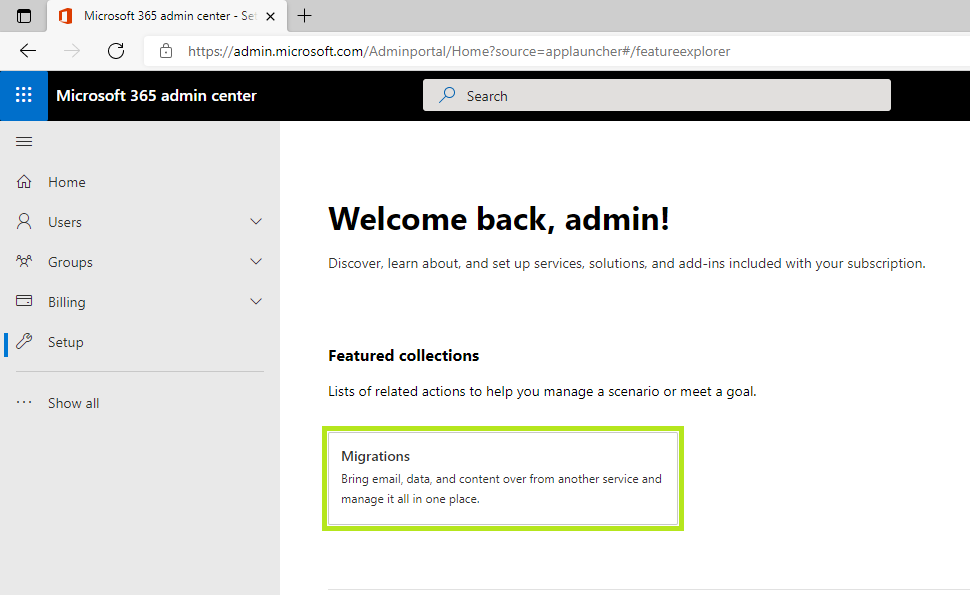
Select Email from Migrations page
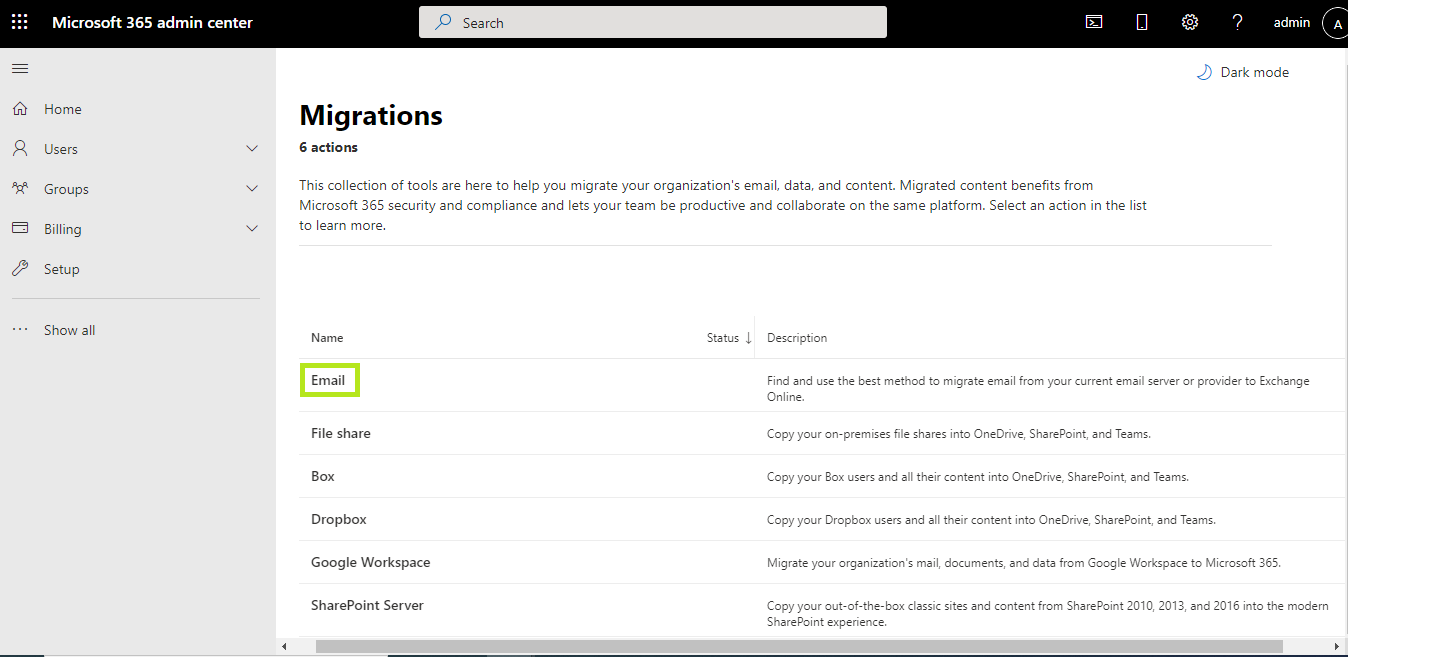
Click on "Get Started" from Migrate your email page

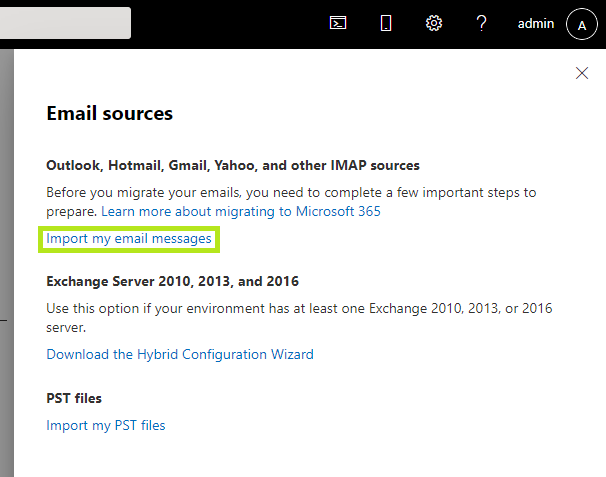
Click on "Import my email messages" from Outlook, Hotmail, Gmail, Yahoo and other IMAP sources
Select "Other email Sources" as the data service source
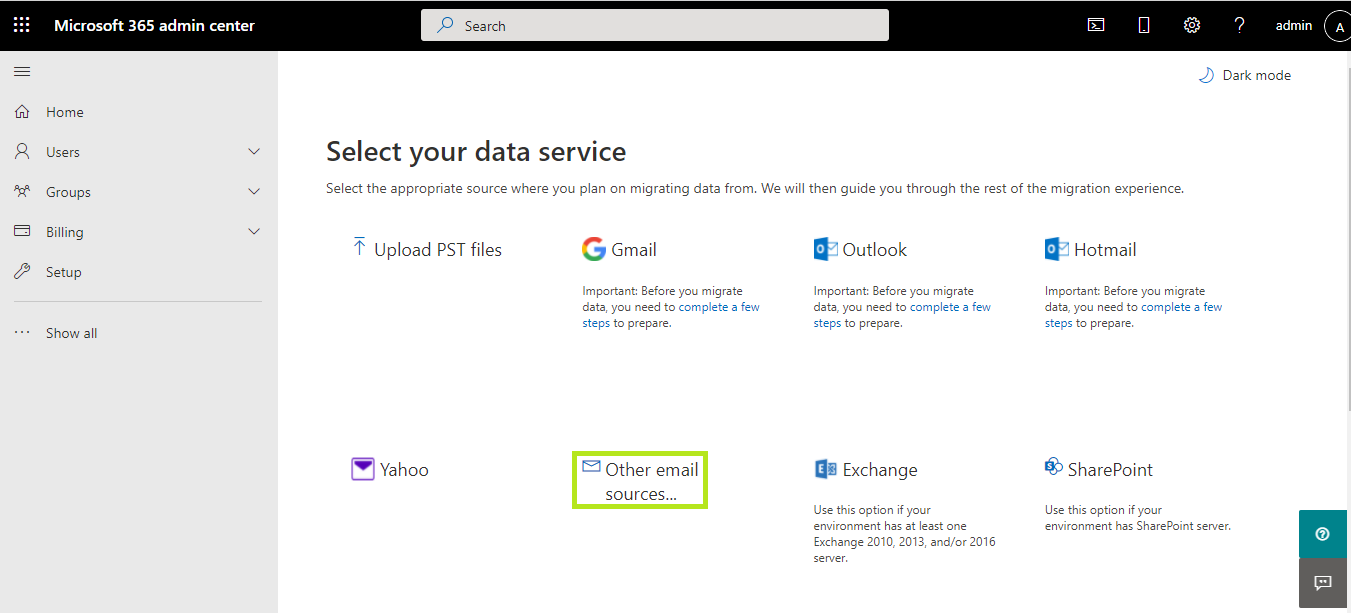
Fill in the IMAP server name, Port, SSL/TLS, Admin user name and Password of the source tenant and click on Save

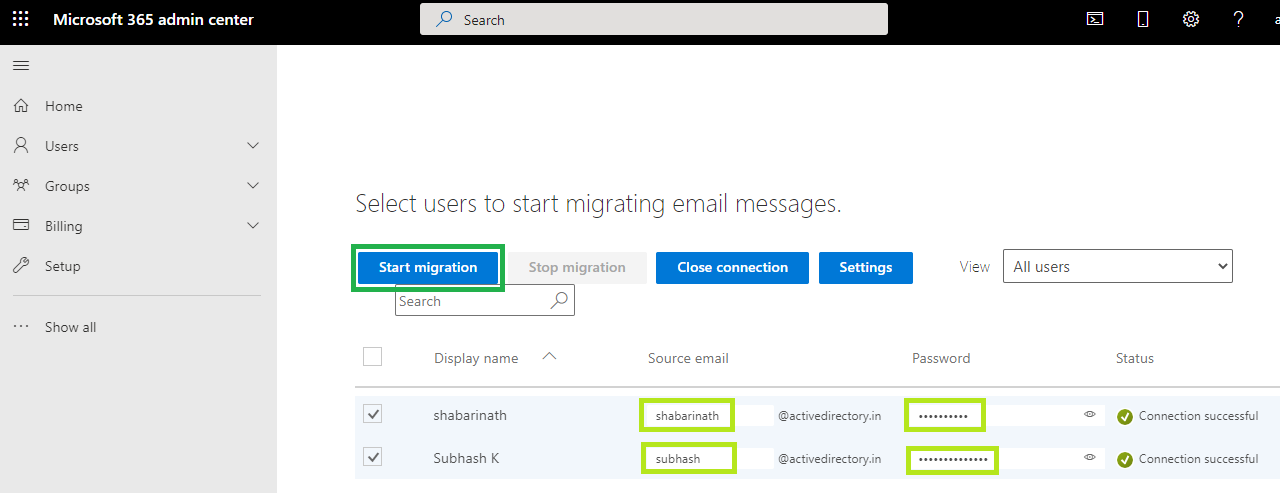
Once the initial connection gets established, A new page with the display name of the target mailboxes will be displayed. Here, the idea is to pair the source mailboxes and target mailboxes. Key in the source user id. Domain name will be listed and cannot be edited. On the password box, Key the in password of respective user in source domain.
Once moved to the next line, connectivity will get established and can see the status if its successful.
Once all user mapping is completed, Click on Start Migratino button.
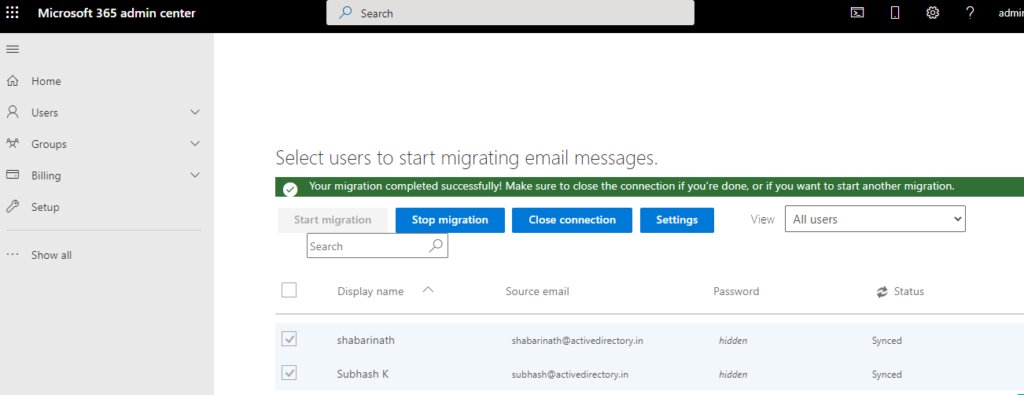
Once migration jobs get initiated, the status will be changed to syncing and can see a message on the top ribbon that "Your migration is in progress"

Once the migration is completed, Status will be changed to synced. Once all users on the list is successful, A message on the top ribbon will appear stating that "Your migration completed successfully"
Once migration is successful, Go ahead with "Close Connection" button to take the next batch of mailboxes. Repeat the same step for next set of users.
PST Export and Import
With out using any third party tools, The next option is to export PSTs and Import PSTs. Both can be done from Office365. However, This option is workable only smaller organizations. Because PST Export and Import needs time and difficult to complete in a short span of time. However, If we are ready to take some more risk and is flexible enough to go with loosing minor cosmetic stuffs, We can accommodate that too. Lets have a look in detail on how we can achieve this.
Lets looks at the sequence on high level. For explaining it, I am using shabarinath@activedirectory.in as my source mailbox in GoDaddy. And shabarinath@activedirectoryin.onmicrosoft.com as my target mailbox.
- Create a job to export the entire mailbox of shabarinath@activedirectory.in and export the result as a single pst
- For each export job, Create two Transport rule on the source tenant for each user
- First Transport rule should be used to forward a copy as BCC of all mails for shabarinath@activedirectory.in to shabarinath@activedirectoryin.onmicrosoft.com
- Second Transport rule should be used to forward a copy as BCC of all mails sent by shabarinath@activedirectory.in to shabarinath@activedirectoryin.onmicrosoft.com
- Create an Outlook rule on the target mailbox - shabarinath@activedirectoryin.onmicrosoft.com. This rule is for adjusting the sent items. This rule needs to be deleted on the cutover day.
- Outlook Rule should move emails from shabarinath@activedirectory.in to Sent Items. The rule is also capable to mark the email as read - But don't go for that. That needs Outlook to be on for processing the rule.
- Now all new emails TO shabarinath@activedirectory.in or FROM shabarinath@activedirectory.in is also getting duplicated and getting delivered to the mailbox shabarinath@activedirectoryin.onmicrosoft.com which is on the target tenant.
- Now Export the PST and Import the PSTs to target Office365 tenant using Network Upload
- PST export and import jobs are something which can take few minutes to few days. Yes - We don't have any control other than looking at the progress. So PST export and import needs to be planned few days prior to the cutover date.
- Once PST import is successful, Its the raw folder structure which will be available on target mailbox. Those who has worked on MFCMapi has an understanding on the raw structure.
- So the next step is to move the restored data to the right folder.
- Use Outlook in Online Mode for moving emails in Inbox, Sent Items, Junk, Deleted Items and Drafts (Default Folders)
- Don't Copy-Paste. Always Move items to a different folder.
- Any Non Default Folders, Its a cake walk. Just Move from one folder to another, which will happen in seconds irrespective of the items inside the folders.
- Calendar, Contacts and Tasks will be visible but not defaulted to the one where user expect to see the data. Either use merge or do a final export of Calendar, Contacts and Tasks from source mailbox through Outlook on the cutover day. Import this back to the mailbox on the cutover day. An average PST with calendar, contacts and tasks may take 15 minutes if the size is not huge. So if more users needs to get migrated, Need more people to handle this activity in parallel on the cutover day.
- Final Cleanup of Restored Folder Structure should be done from OWA. Delete first which will move the restored folder root to deleted items. And in the next step, Delete from Deleted Items. This is instant.
- With that, We have both mailboxes with same content and same folder structure
What is the drawback of this approach?
- Migration team needs to handled PSTs. PSTs are data which should be handled with care.
- Multiple activities which needs to go in parallel. Some of the activates doesn't have any control other than triggering it
- Mailbox is having the same data. However, the changes happening once the mail is getting delivered on the source mailbox will not get reflected on the target. Which means that users need to do the same task again after migration (Yes, That's the truth)
- Exporting Calendar at the end from Outlook and Import back to the respective mailbox through Outlook will help to make the calendars updated inline with the source mailbox. If we choose to merge the calendar which came in through PST Import - Calendar is not updated and any changes after PST export happened will reflect on the target calendar.
I will try to have a follow-up post if Cross Tenant Mailbox configuration on my lab gets successful. Until that point, PST Export and Import is the easiest way. IMAP Migration is also recommended but needs to be sure if the IMAP migration limitations are not going to fire back..
posts on office365 cross tenant migration